‘Tis the season to be baking…tra la la la la!! When it’s cold and frosty outside, what better way to warm up and work a few muscles than baking a nice crusty loaf – without any help from a food mixer! Any pent up frustrations will soon be kneaded out of your system (did you like what I did there?) as you work your bread dough into a silky smooth dough. Try it yourself with this dead easy recipe.
Ingredients:
- 1Ib (500g) strong white bread flour
- 1 1/2oz (40g) melted butter
- 1oz (30g) fresh yeast or 2 sachets fast-action dried yeast
- 1 1/2 teaspoons salt
- 10 fl oz (300 mil) tepid water
How to make my crusty white bread loaf:
Turn your oven on to 200 C and put an old baking tray into the very bottom.
Put half the tepid water into a measuring jug and crumble in the fresh yeast. Leave until the liquid starts to froth and has doubled in size (about 10 minutes in a warm place). If you’re using fast-action dried yeast then just following the instructions on the packet which would normally be to sprinkle the yeast straight into your flour.
Put your flour and salt into a large bowl. Make a hole or well in the middle and pour in the melted butter and frothy yeast mixture. Start mixing everything together with a spoon or spatula until all the yeasty liquid has been absorbed. Now roll up your sleeves and get your fingers into the dough, adding a little more of the tepid water and working it in as you go.
As soon as all the ingredients have combined into a single soft ball of dough, sprinkle a little flour on your worktop and turn it out. Now start kneading the dough – be as rough as you want! Remember, this is a great opportunity to release your energy and frustrations. Really work that dough! Try to keep it going for at least 10 minutes and the dough will be silky soft and perfectly smooth.

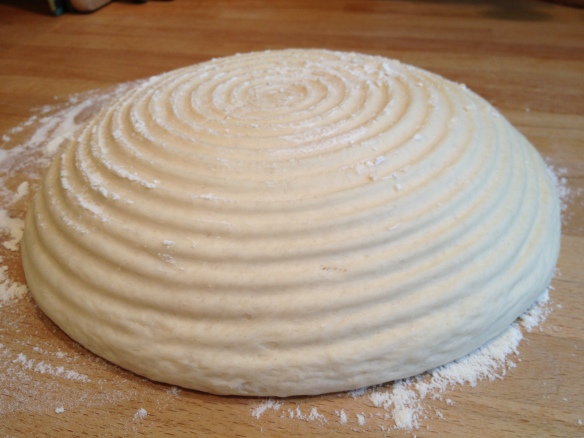
Now put your ball of dough into a floured container – I have a nice proofing bread basket – cover with cling film or a clean tea towel and leave in a warm place – not on top of a radiator as this is too hot!

When the dough has roughly doubled in size – maybe after about 1 – 1 1/2 hours – tip it out onto a floured worktop and knead it again for a few minutes to ‘knock back’ the air. It’s ready now for its second proofing and I do this again in my floured bread proofing basket. If you don’t have one of these then grease and flour a bread tin. Pop your ball of dough into your proofing basket or bread tin, cover again and leave to rise somewhere warm. This will take around an hour, but don’t rush it!

I turned my dough out of its proofing basket onto a non-stick silicon sheet and dusted it lightly with flour before putting it into the oven. If you have proofed your dough in a bread tin you can just put it straight in the oven without doing any more to it.
Before closing the oven door, pour a little cold water into the baking tray at the bottom to create some steam – this will help your loaf bake crispy but not hard and crunchy.
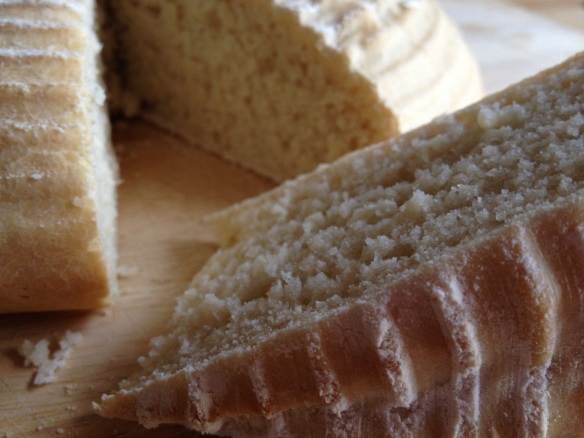
Bake your loaf in the oven for 30 minutes. When cooked leave to cool and then cut yourself a slice while still warm and enjoy 🙂